Showing posts with label DIY. Show all posts

Monday, February 4, 2013

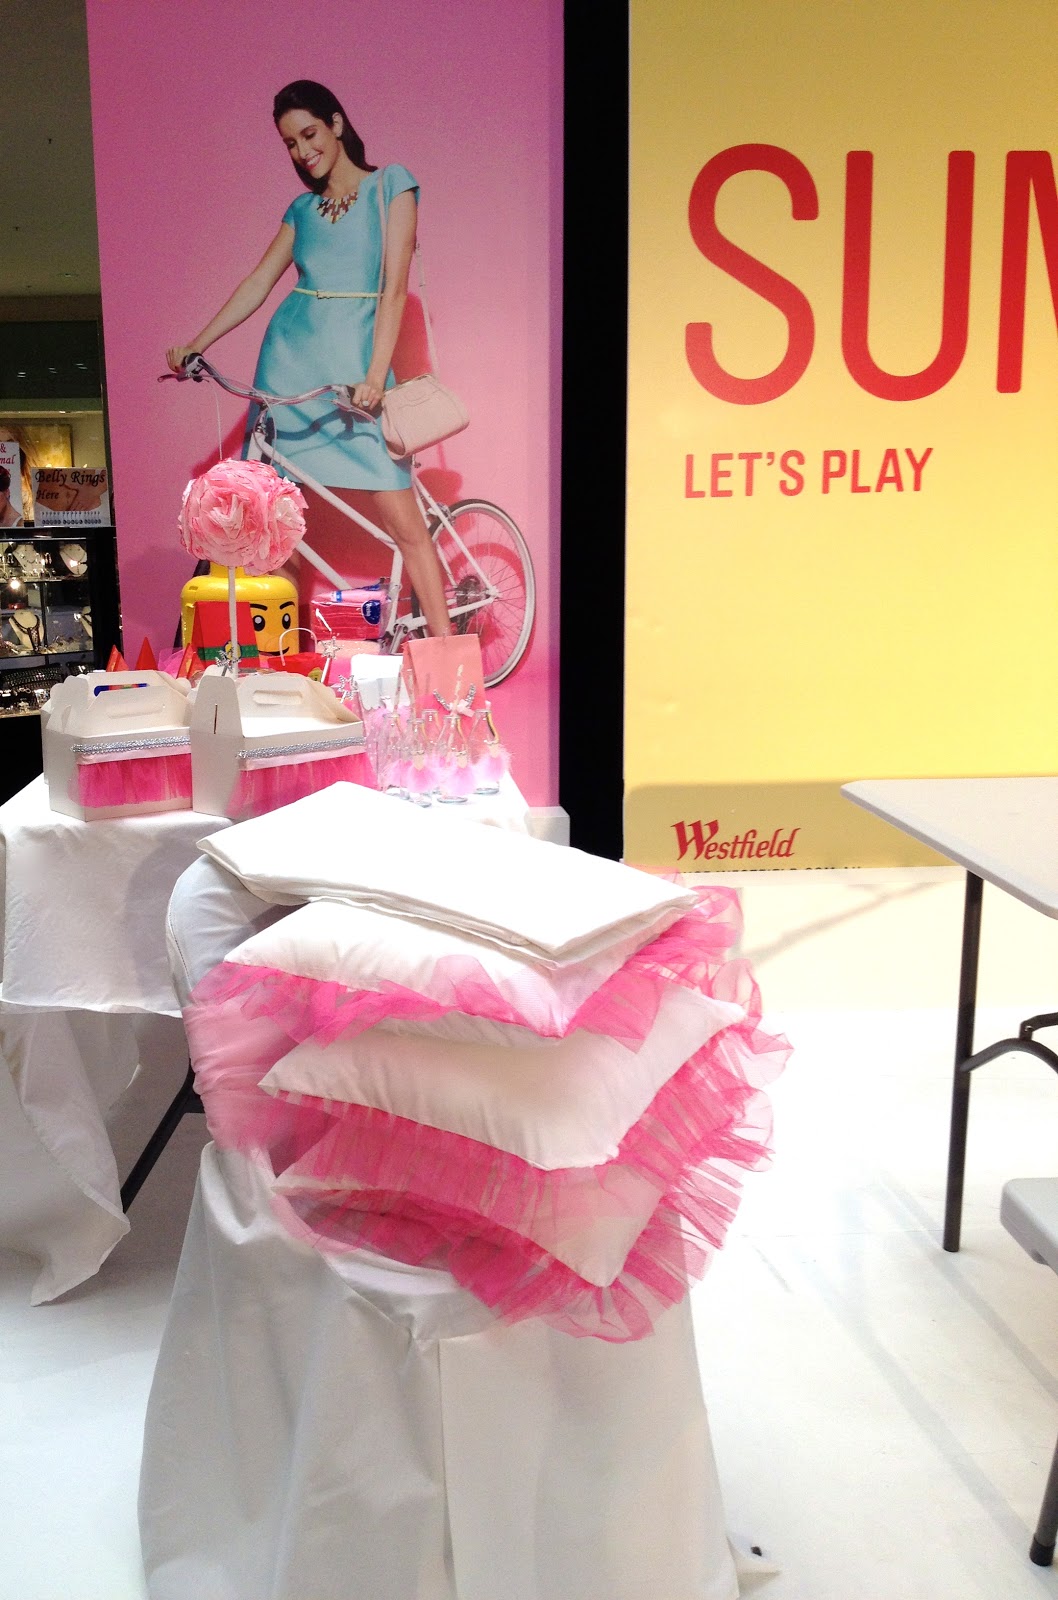
Westfield Shopping Centre - Party Styling Workshops

Party Styling Workshops


"The professionals from The Inspired Occasion are back again to demonstrate how to throw amazing children's birthday parties! The workshop will demonstrate how to themeBallerina and Lego inspired parties, perfect for the summertime. "

The Inspired Occasion facilitated a workshop to complement and enhance Westfield Geelong’s Fashion Festival.

Workshop
The Inspired Occasion designed a workshop which featured children's themed party tables suitable for an indoor (home) or outdoor (back garden or park) setting.  

Workshop Theme
Girl - Tutu / Ballerina
Boy - Lego

Workshop Featured
  • How to transform a plain plastic trestle table into a colour themed Party Table 
  • How to dress plain plastic bench seats  and chairs
  • How to theme a table with colour coded and themed table accessories i.e. plates, bowls, napkins, drink bottles, center piece, cutlery
  • How to create inspired ‘cold’ food boxes for parties without cooking facilities
  • How to create a themed loot bag
  • How to make a no sew child's tutu

Images below from our party styling workshop at Westfield Geelong

Saturday 22 September 2012


The Inspired Occasion

Tuesday, May 1, 2012

DIY Tutorial - Fondant Pearl Bows


The DIY Mother Day Gift you can bake - Sugar Cookies - As featured in Blissfully Sweet Magazine.

Why not bake mum some beautiful homemade sugar cookies complete with your own DIY pearl fondant bows as featured in the Little Big Company Oh Sweet Mum e-event submission. With some everyday utensils and store bought fondant you too can create a beautiful edible delight for your mother’s day table. With a simple sugar cookie recipe the list of endless mothers day cookie creations are endless, with hearts, bows, shoes, handbags and flowers being popular designs. Try your hand at using different mediums to decorate your cookies from coloured fondants, royal icing techniques and stencilling.

As featured at many parties the sugar cookies is often presented on dessert stations, they can also be bagged with personalized toppers, presented in beautiful gift box’s or even baked on sticks and presented as an edible posse or bouquet.

DIY – Fondant Pearl Bows Tutorial:

Utensils /Ingredients Required –

· Ready to roll fondant (available at all cake decorating stores)
· Chopsticks
· Sharp knife
· Small paint brush
· Water
· Rolling pin
· Ruler


  • Roll out fondant on a prepared surface (light dusting of icing sugar) your fondant should be approx 3mil thick so that the bows hold shape
  • Using a ruler cut out desired lengths for your bows. We used the width of the ruler as our guide. Our bow strips are a little over 0.5cm thick. 
  • Using your chopstick as a mould gently wrap the fondant strip around and squeeze/pinch together using a little water to bond the two surfaces. 
  • Continue this process until you have enough loops for the desired amount of bows. Remembering you need two loops to each bow.
  • Allow loops to dry


  • Whilst loops are drying cut out your ribbon ends, again ending up with similar sized strips as per your bows, then snip the end off for bow effect.
  • To create the pearl centre, roll small balls of fondant. 
  • Once the loops are dry, gently remove from chopstick and start to assemble your bows on baking paper using a little water to bond 
  • Once bows are glued together let dry overnight. 
  • Dust the finished bows with shimmer dusk, pearl dust or glitter for your desired effect and then place on your biscuit or cupcakes...... 


Later in the week we will blog an easy sugar cookie recipe.

The Inspired Occasion

Related Posts Plugin for WordPress, Blogger...